Kia Sportage: Preparation for assembly - Replacing body panel
Preparation for assembly
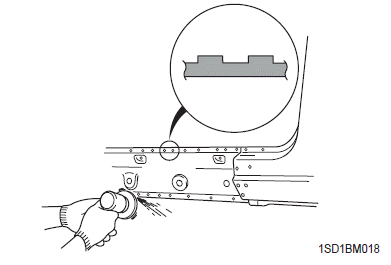
1. Spot weld finish
Use a disk grinder or similar tool to finish spot weld mark. Do not grind more than is necessary to smooth surface.
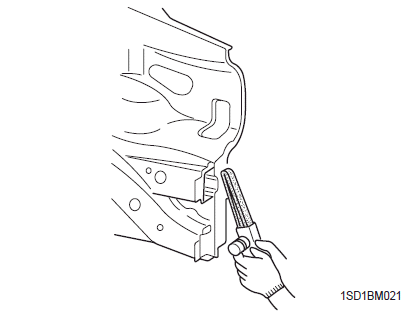
2. Panel preparation
Repair any bent or uneven areas with a hammer to improve the assembly process.

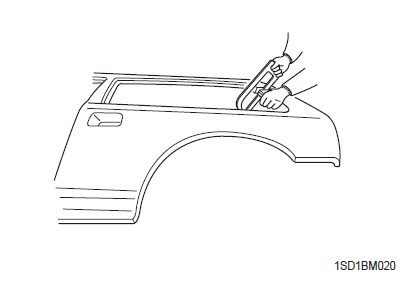
3. Cutting a rough area for a new part
When rough cutting an area for a new part, leave a tolerance of 30~50 mm.
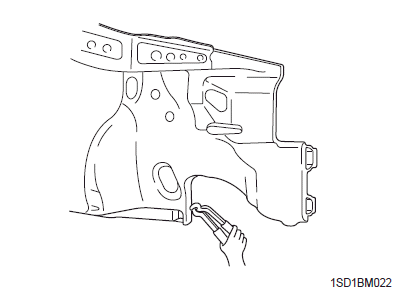
4. Preparation for spot welding
Remove paint on spot welded area and on the area overlapped by the new part using a belt sander or similar tool.
5. Drilling a hole for plug welding
If the thickness of the part to be welded is less than 3 mm, drill a 5~6 mm diameter hole. If the thickness of the part to be welded is greater than 3 mm, drill a hole using a 7 mm diameter drill.
Notice
- Do not spot weld where thickness is greater than 3 mm.
READ NEXT:
 Assembly - Replacing body panel
Assembly
1. Checking welding and fitting in advance
When assembling a new part, measure the
dimensions of each part according to the body
dimensions given in Section 31, and set part to the
Fender apron panel assembly
Welding part
Setion
Cowl panel assembly
Welding part
Section
Dash panel assembly
Welding part
Section
Center floor panel assembly
Welding part
Section
Re
Body dimensions
Body dimension indications
Projected dimensions
The projected dimension indicates a dimension from a reference point on the
body. (Height may be different in some
cases).
Straight-line dimension
SEE MORE:
Warning messages
The Auto Hold function will display a
warning message with sound under certain
conditions.
When the EPB is applied from Auto Hold,
a warning will sound and a message will
appear.
Parking brake automatically
engaged
When the conversion from Auto Hold to
EPB is not working properly
Propeller Shaft Assembly
Propeller Shaft
Components and Components
Location
Components
Front propeller shaft
Center bearing
bracket
Rear propeller shaft
Repair procedures
Replacement
1. After making a match mark on the flange yoke and transaxle companion,
remove the propeller shaft mounting
bolt
Content
- Home
- Kia Sportage - Fifth generation (NQ5) - (2022-2026) - Owner's Manual
- Kia Sportage - Second generation (JEKM) (2005-2015) - Body Workshop Manual
- Kia Sportage Third generation (SL) - (2011-2016) - Service and Repair Manual
- Sitemap
- Top articles
